


Squeegee is Happy to Introduce the Customer Portal
12th December 2024
Squeegee is Happy to Introduce the Customer Portal
We are excited to announce that our new customer portal is now available to set up for those with the Advanced plan.
How Can the Customer Portal Help My Business?
Customer Portals provide a huge benefit to you and your customers. Customers can log in to view upcoming appointments, see their financial history, and look at any quotes. From their portal, they can also view their invoices and make payments. If they need to get in touch with you, they can send a message from their portal which you will receive in an email. Giving the customers these abilities will save both of you time. Most importantly, your company can provide next-level support and service to your clients.
How Can I Set Up My Customer Portal?
- For anyone with the Advanced plan, you can now go into your app or desktop version of Squeegee and start your portal. Here is a step-by-step guide to set it up for your company.
- At any point, while you are setting up your portal you may go up to the top and save your work. You may also click on View at any point after saving to see what your portal currently looks like published.
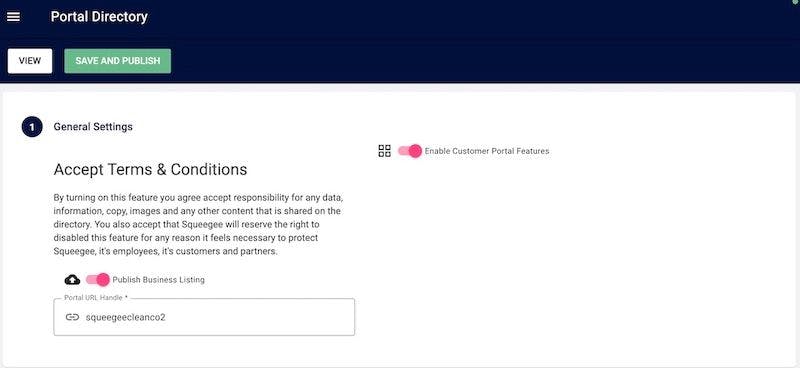
- You may also notice the Terms and Conditions in section 1. You are accepting those Terms and Conditions by toggling “Enable Customer Portal Features” so make sure you read those over carefully before you begin.
- Scroll down in the navigation bar in your Squeegee account to the Portal Directory link.
- Under section 1, General Settings, there are two toggles. Toggle Enable Customer Features.
- Now type in what you want your URL handle to be for your portal. Usually, it’s some form of your company name. Now toggle the Publish Business Listing.
- If you have any social media pages, you can add the URL links for those below the business information.

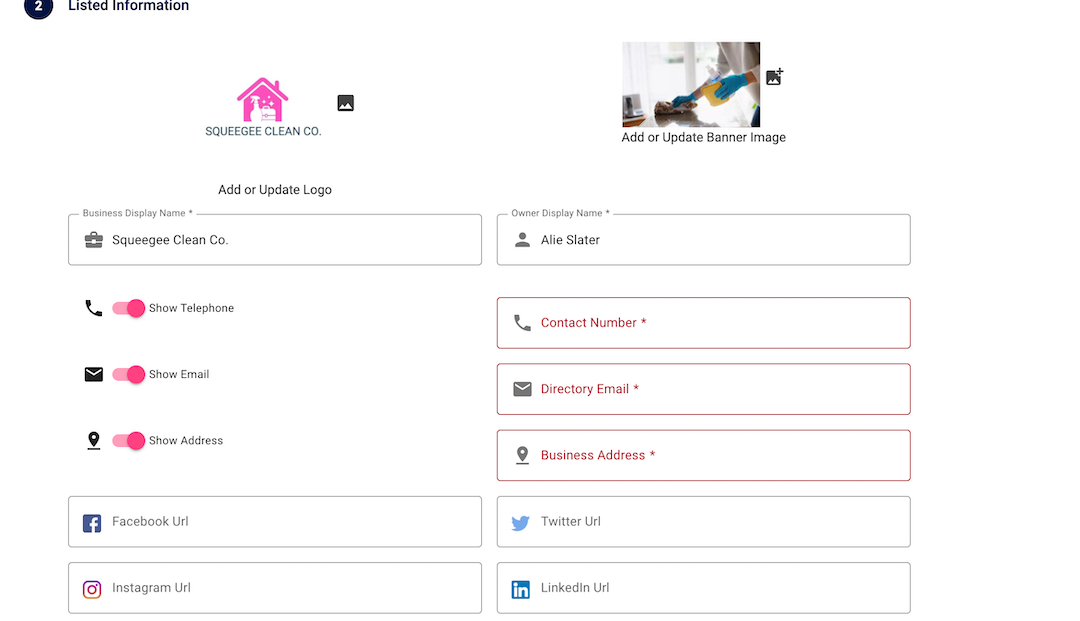
- Move on to section 2, Listed Information. You will have the opportunity now to add your business logo and the banner image that will show up at the top of the portal with your business name.
- Add your Business Display Name and Owner Display Name.
- Now you can toggle any business information you would like to show up on your portal like Show Telephone, Show Email, and Show Address. If you do not want your customers to see any or all of these, leave them un-toggled.
- If you have any social media pages, you can add the URL links for those below the business information.
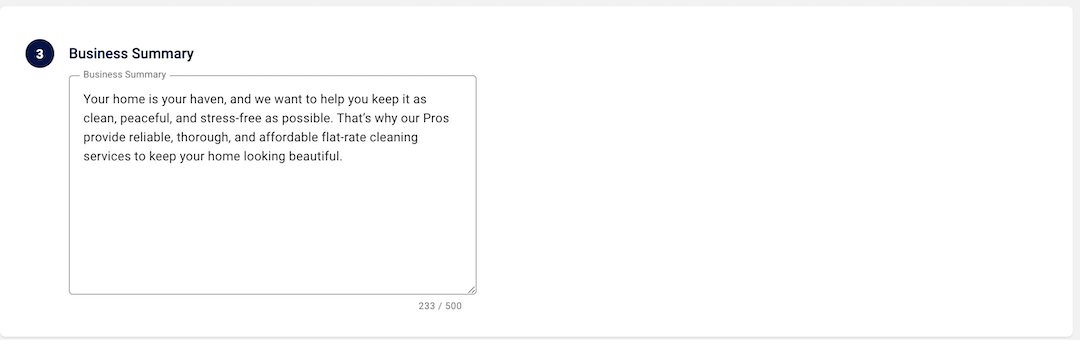
- Section 3, Business Summary, is where you can write a short paragraph about your company or a message to your customers.
- Section 4, Advertised Services, will be automatically pulled over from your app list of services. You can add or change what you would like to appear by clicking on the “Edit Services” icon.
How Can Customers Begin To Use Your Portal?
Once your portal is set up you can start to let your customers know. Your link will look like this except it will have your chosen handle at the end. http://squeeg.ee/portal/YOURHANDLE
Every customer in Squeegee is given a customer reference number when they are added to your customer list. You can find this number if you open up their information within your app as shown below. It will begin with CUS. This is their unique number and it's one of the things they can use to register for their account on the portal. They may also use an email address.

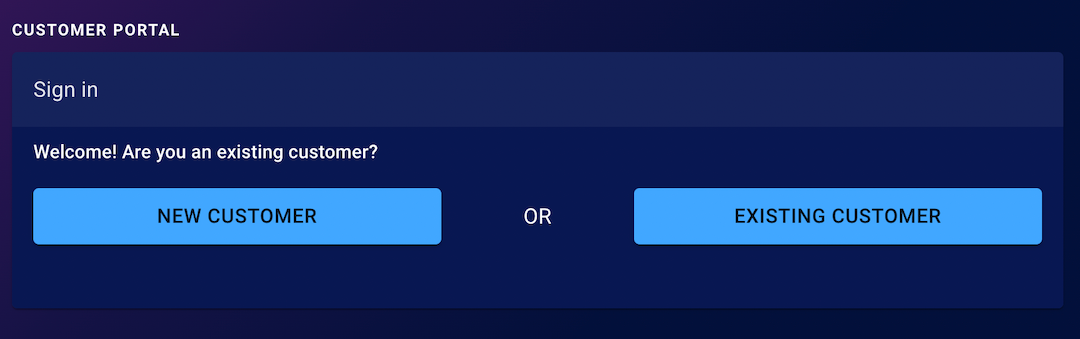
Once a customer goes to the link they will see an area where they can sign in as a new customer or an existing customer. Anyone who's been a previous customer will use the Existing Customer link. Only those who are interested in becoming a new customer would use the New Customer link.
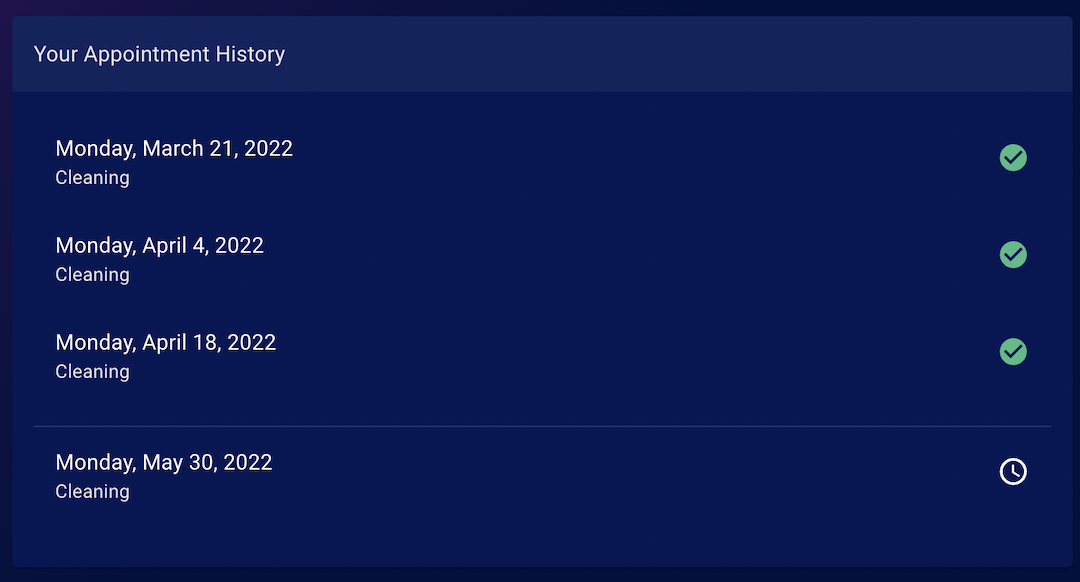
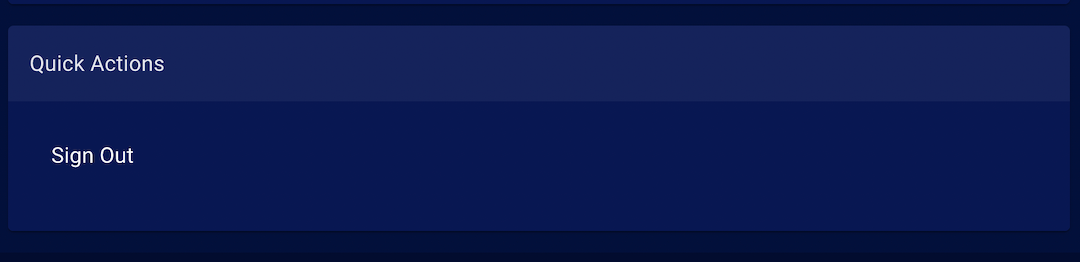
Existing customers will log in with either their customer reference number or email address and they will see their quotes, their appointment history, and financial history, as well as quick actions. If they are a current customer and choose to sign in with an email address, they will need to use the one you have listed for them in Squeegee in order to pull over their account info.

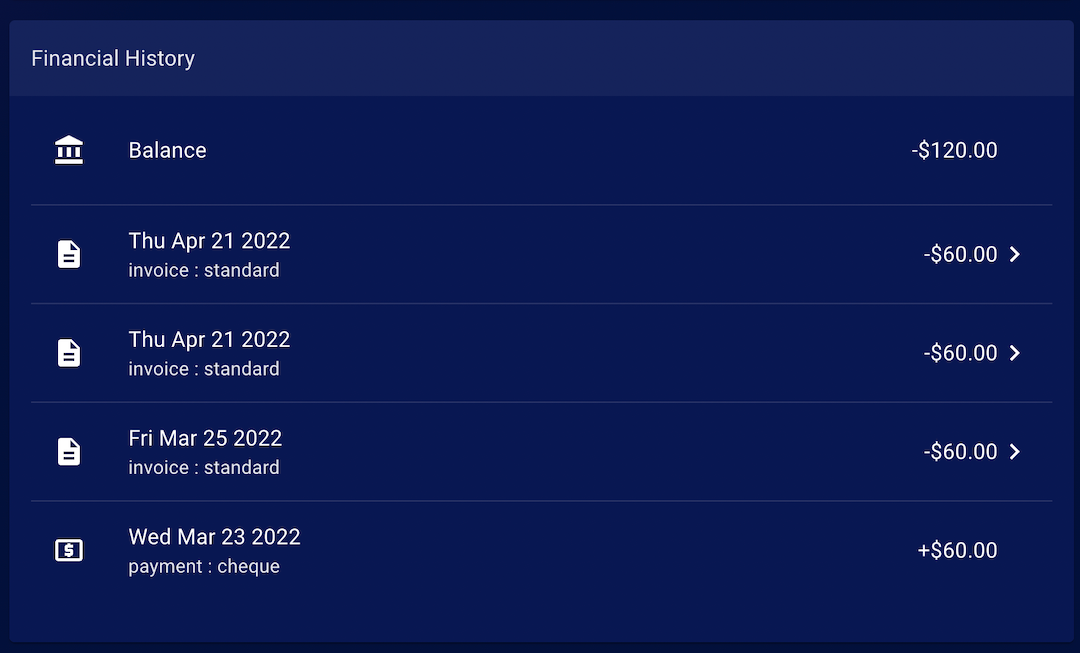
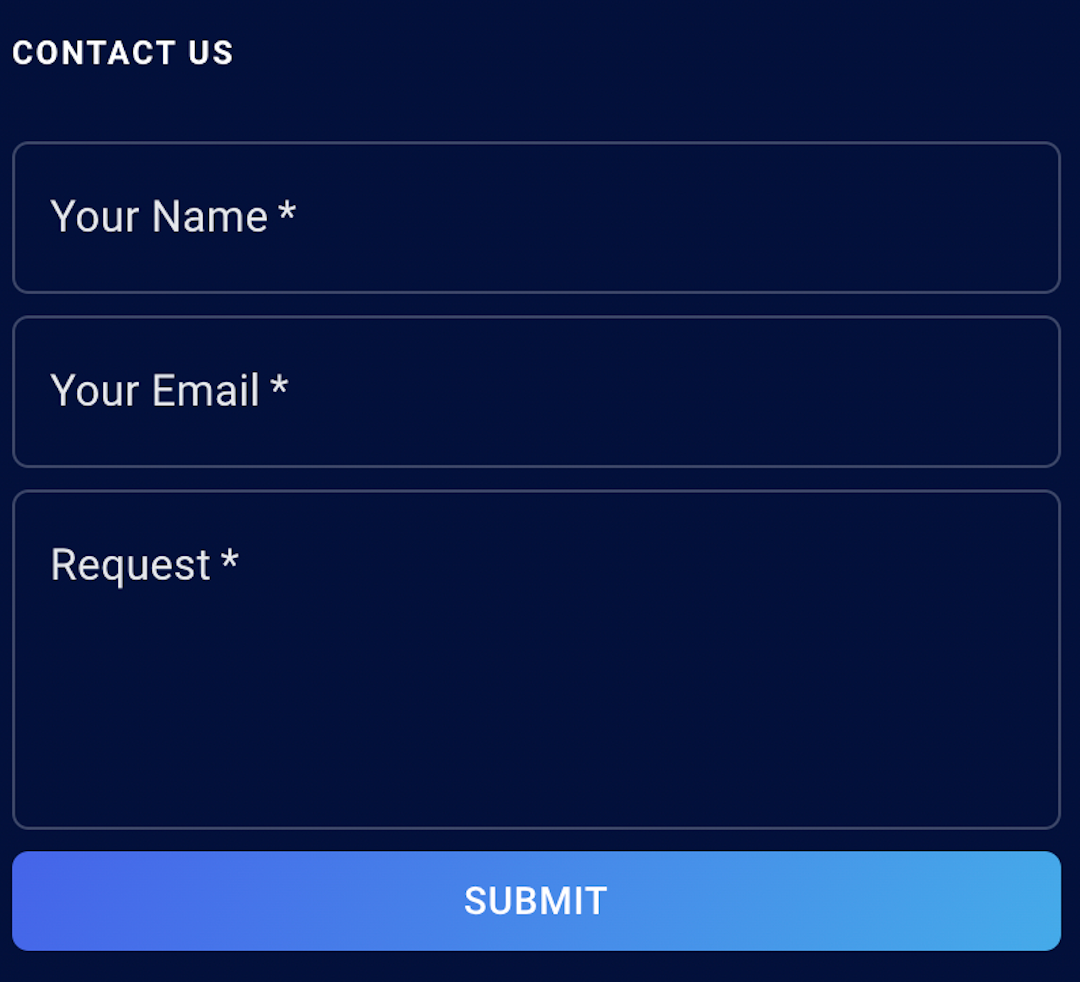
Customers may use the financial history links to go directly to their invoices and pay their balances. Your customers will also have a section to message you if they have any questions or concerns. You will receive their message at your email address for your Squeegee account. They will likewise receive an email at the address they have tied to their account.
We hope this has helped answer any questions you might have about setting up your portal. We are so excited to be able to offer this amazing new feature to our clients and yours.
But Wait, There’s More!!
We haven’t stopped there! With the Ultimate subscription you can have your customer portal with even more features. This requires account-specific configuration and is priced depending on the features. The following is a list of additional features you can get:
- Self-service quotes
- Star rating
- Update payment card on file
- View all appointments
- Message hub
- The ability to have the portal hosted on your own website (requires management from your website admin)
If you are interested in upgrading your customer portal, please reach out to the team at Squeegee where we can assist you.

